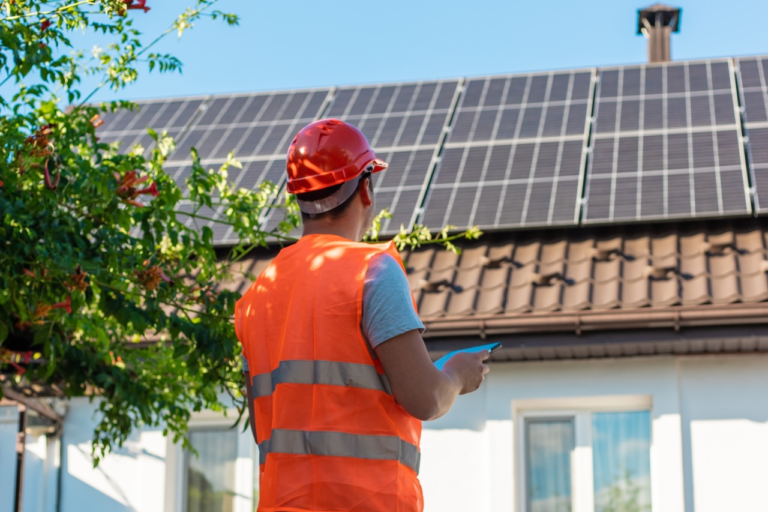
Installing solar panels represents a significant investment in your home’s future. One that should deliver decades of clean energy and reduced utility bills. Yet even experienced DIYers can make critical errors that compromise system performance, create safety hazards, or void warranties. Whether you’re planning a hands-on installation or vetting professional contractors, understanding these common solar panel installation mistakes will protect your investment and maximize your return.
Who This Guide Is For
This comprehensive tutorial serves homeowners considering DIY solar projects, small business owners evaluating their options, and anyone who wants to understand what separates a professional installation from a problematic one. While some solar tasks are DIY-friendly, like monitoring system performance or basic panel cleaning. Many aspects demand professional expertise, particularly structural assessments, electrical work, and permit coordination.
The risks of improper installation extend beyond lost efficiency. Faulty electrical connections can create fire hazards, inadequate mounting systems can fail during storms, and skipped permitting can leave you without insurance coverage when problems arise.
Summit Solar And Battery specializes in helping valley residents navigate these complexities, offering everything from pre-installation audits to complete turnkey systems.
Before diving deep, here’s your at-a-glance guide to what goes wrong and how to fix it.
17 Solar Installation Mistakes That Cost You Money
- Skipping site assessment — Conduct shade analysis and roof evaluation
- Wrong system size — Calculate actual usage plus future electrification needs
- Ignoring permits — File with AHJ and schedule required inspections
- Low-quality components — Verify UL listings and warranty terms
- Electrical errors — Follow NEC Article 690 requirements precisely
- Aesthetics over output — Prioritize unshaded south-facing arrays
- Ignoring weather loads — Design for local wind and snow ratings
- Poor roof integration — Flash every penetration and stagger fasteners
- Cable mismanagement — Use UV-rated clips and drip loops
- Wrong inverter placement — Ensure ventilation and temperature control
- No monitoring setup — Commission with live production tracking
- Utility interconnection gaps — Plan for PTO timelines and tariff optimization
- Skipping maintenance — Schedule annual inspections and cleaning
- Fire code violations — Maintain required setbacks and pathways
- No expansion planning — Install conduit stubs for future battery addition
- Warranty confusion — Document product, performance, and workmanship coverage
- Ignoring demand charges(commercial) — Model load profiles against PV production
1. Skipping a Proper Site Assessment
One of the most expensive solar installation errors happens before you order a single panel: failing to assess whether your site can actually support high-performance solar. Roof orientation, shading patterns, structural capacity, and local weather all determine whether your investment pays off or disappoints.
What goes wrong: Arrays installed without shade analysis can lose 30% or more of their potential output. A tree that casts afternoon shadows, a neighboring building, or even a poorly placed chimney can tank your annual production. Similarly, aging roofs or inadequate rafter spacing may not support modern panel weights and wind loads.
Do this instead: Commission a professional shade study using tools like Solar Pathfinder or drone-based analysis. Document shading at different seasons and times of day. Evaluate roof condition and if replacement is needed within 10 years, do it now before installing panels. Confirm your roof pitch and azimuth fall within acceptable ranges (south-facing at 15-40° pitch is ideal in most of the U.S., but even east-west installations can work with proper design).

2. Underestimating System Size
System sizing errors fall into two categories, both costly: undersizing leaves you buying expensive grid power, while oversizing means you paid for capacity you’ll never use. The solution requires analyzing historical consumption data and anticipating future changes.
What goes wrong: Many installers size systems based solely on current usage, ignoring plans for electric vehicles, heat pumps, or home additions. Others oversize dramatically based on sales pitches rather than engineering. Both scenarios deliver poor ROI.
Do this instead: Pull 12-24 months of utility bills to establish baseline consumption. Factor in planned electrification such as an EV charging station adds roughly 3,000-4,000 kWh annually, while a heat pump conversion might double your winter usage. Model your system using PVWatts or similar tools with local weather data. Consider future resilience needs; if backup power matters, understanding the benefits of off-grid solar helps right-size battery storage alongside your array.
3. Ignoring Local Codes and Skipping Permits
Every jurisdiction requires permits for solar installations, yet this remains one of the most frequently skipped steps, especially among DIY installers. The consequences extend far beyond fines: unpermitted work typically voids warranties, complicates home sales, and may leave you uninsured if system failure causes property damage.
What goes wrong: Code requirements vary dramatically by location. Your city’s Authority Having Jurisdiction (AHJ) sets specific rules for setbacks, fire access pathways, rapid shutdown systems, and structural attachments4. Installing without engineered stamped plans and electrical permits creates liability that follows you indefinitely.
Do this instead: Start the permit process before purchasing equipment. NEC Article 690 governs electrical requirements, but local amendments may be stricter. Plan for multiple inspections: structural, electrical rough-in, and final. Budget time for plan review and corrections as 30-90 days isn’t unusual in busy jurisdictions.
Overwhelmed by paperwork? Let Summit Solar And Battery pull your permits and stamp your plans. We can handle AHJ coordination so you don’t have to.
4. Choosing Low-Quality or Mismatched Components
Not all solar panels are created equal, and mixing incompatible components is a recipe for underperformance. The cheapest quote often signals corners cut on equipment quality—savings that evaporate through reduced output and early failures.
What goes wrong: Discount panels may lack proper UL 1703 certification, have high temperature coefficients (meaning they lose more power in heat), or come from manufacturers with questionable warranty backing. Mismatching panel wattages within strings creates voltage imbalances, while incompatible inverter-to-panel ratios leads to clipping losses or underutilization.
Do this instead: Verify every component carries appropriate UL listings: UL 1703 for modules, UL 1741 for inverters, UL 2703 for racking. Compare temperature coefficients as premium panels lose only 0.3-0.35% per degree Celsius above 25°C. Match inverter topology to your situation: string inverters work for unshaded roofs, while microinverters or DC optimizers handle complex shading. Ensure all panels in a string share identical electrical characteristics.
5. Improper Electrical Work
Electrical mistakes represent the most dangerous category of solar installation errors. Undersized conductors, incorrect overcurrent protection, missing arc-fault protection, and improper grounding create fire risks that may not manifest until years after installation.
What goes wrong: Many DIYers underestimate conductor sizing, failing to account for NEC’s 125% continuous load multiplier or temperature derating1. Loose connections create resistance, heat, and potential arc-fault conditions. Improper bonding leaves metal components vulnerable to lightning damage or shock hazards.
Do this instead: Follow NEC Article 690 requirements precisely. Size conductors using Tables 310.15 and 310.16 with appropriate adjustment factors for temperature and conduit fill1. Install listed arc-fault circuit interrupters (AFCI) for systems over 80V. Implement proper equipment grounding conductor (EGC) sizing per Section 690.452,3, ensuring every exposed metal component is bonded. Label all disconnects, combiner boxes, and junction points clearly.
Ground-fault protection is required for systems exceeding 30V or 8A. Bond PV array frames to the building’s grounding electrode system, and this isn’t optional. Equipment grounding prevents shock hazards while system grounding provides fault current paths.
Not confident in your electrical skills? Book Summit’s NEC compliance check before energizing your system.
6. Misplacing Arrays for Aesthetics Over Output
“I want panels on the front of my house” is a common request that often sacrifices 15-30% of potential production. While aesthetics matter, understanding the output implications helps you make informed tradeoffs.
What goes wrong: North-facing arrays in the northern hemisphere generate dramatically less power, sometimes 50-70% of a south-facing equivalent. Similarly, arranging panels in visually pleasing patterns that split production across multiple roof planes reduces overall system efficiency.
Do this instead: Prioritize south and southwest-facing planes with minimal shading. If aesthetic concerns dominate, calculate the production penalty and adjust system size accordingly. Use energy modeling software to compare different layout scenarios with expected annual kWh. Consider ground-mounted arrays if roof aesthetics are paramount but you still want optimal production.
7. Forgetting the Realities of Weather
Your local climate imposes physical demands that generic installation practices may not address. Wind uplift, snow loads, corrosion from salt air, and thermal cycling all affect long-term system performance.
What goes wrong: Racking systems rated for 90mph winds fail in areas with 120mph hurricane potential. Mounting brackets lack corrosion resistance in coastal environments. Snow accumulation in northern climates can exceed structural design loads. Even heavy rain can cause problems if drainage isn’t properly planned.
Do this instead: Verify racking systems meet local wind and snow load requirements. These are typically specified in your building code as design pressures based on zone maps. In coastal regions, specify 316 stainless steel fasteners and corrosion-resistant mounting hardware.
For wet climates like Oregon, understanding solar panels designed for rainy climates helps you select modules with proper drainage features and sealed junction boxes. Ensure adequate roof drainage around arrays to prevent ice damming or water pooling. In high-snow areas, consider tilt-up racking that sheds accumulation more effectively.
8. Weak Roof Integration
The interface between mounting hardware and your roof represents the most common source of long-term problems. Improper flashing leads to water intrusion, while inadequate fastening risks panel loss during storms.
What goes wrong: When you skip flashing on penetrations, use wrong-sized lag bolts, or fail to hit rafters/trusses. Sealants alone are insufficient; they degrade over time. Over-torqued bolts crack roof materials while under-torqued connections lack holding power. Water finds these vulnerabilities years later, causing expensive damage.
Do this instead: Flash every single roof penetration with proper metal flashing designed for your roof type. Locate rafters precisely using studfinders or inspection from below; never rely on standard spacing. Stagger mounting points to distribute loads. Follow manufacturer torque specifications exactly. After installation, conduct a water test to verify no leaks before covering penetrations with panels.
For composition shingle roofs, lift and flash under the shingles. Tile roofs require special tile hooks. Metal roofs need standing seam clamps or through-bolt mounting with proper gaskets.
9. Poor Cable Management
Exposed wiring degrades quickly under UV exposure, while loose cables create abrasion points that can breach insulation. Wildlife adds another dimension. Rodents and birds often target exposed wiring.
What goes wrong: Cables zip-tied to racking without UV protection fail within years. Missing drip loops allow water to track along conductors into junction boxes. Cables rubbing against sharp metal edges eventually short. Squirrels and rats chew through unprotected runs.
Do this instead: Use only UV-rated cable clips and conduit where wiring is exposed. Form drip loops at all low points so water drips away rather than tracking into enclosures. Separate AC and DC wiring to prevent induction issues. Install critter guards around array perimeters and protect ground-level conduit with metal sleeves. After commissioning, conduct infrared scans to identify hot spots indicating poor connections.
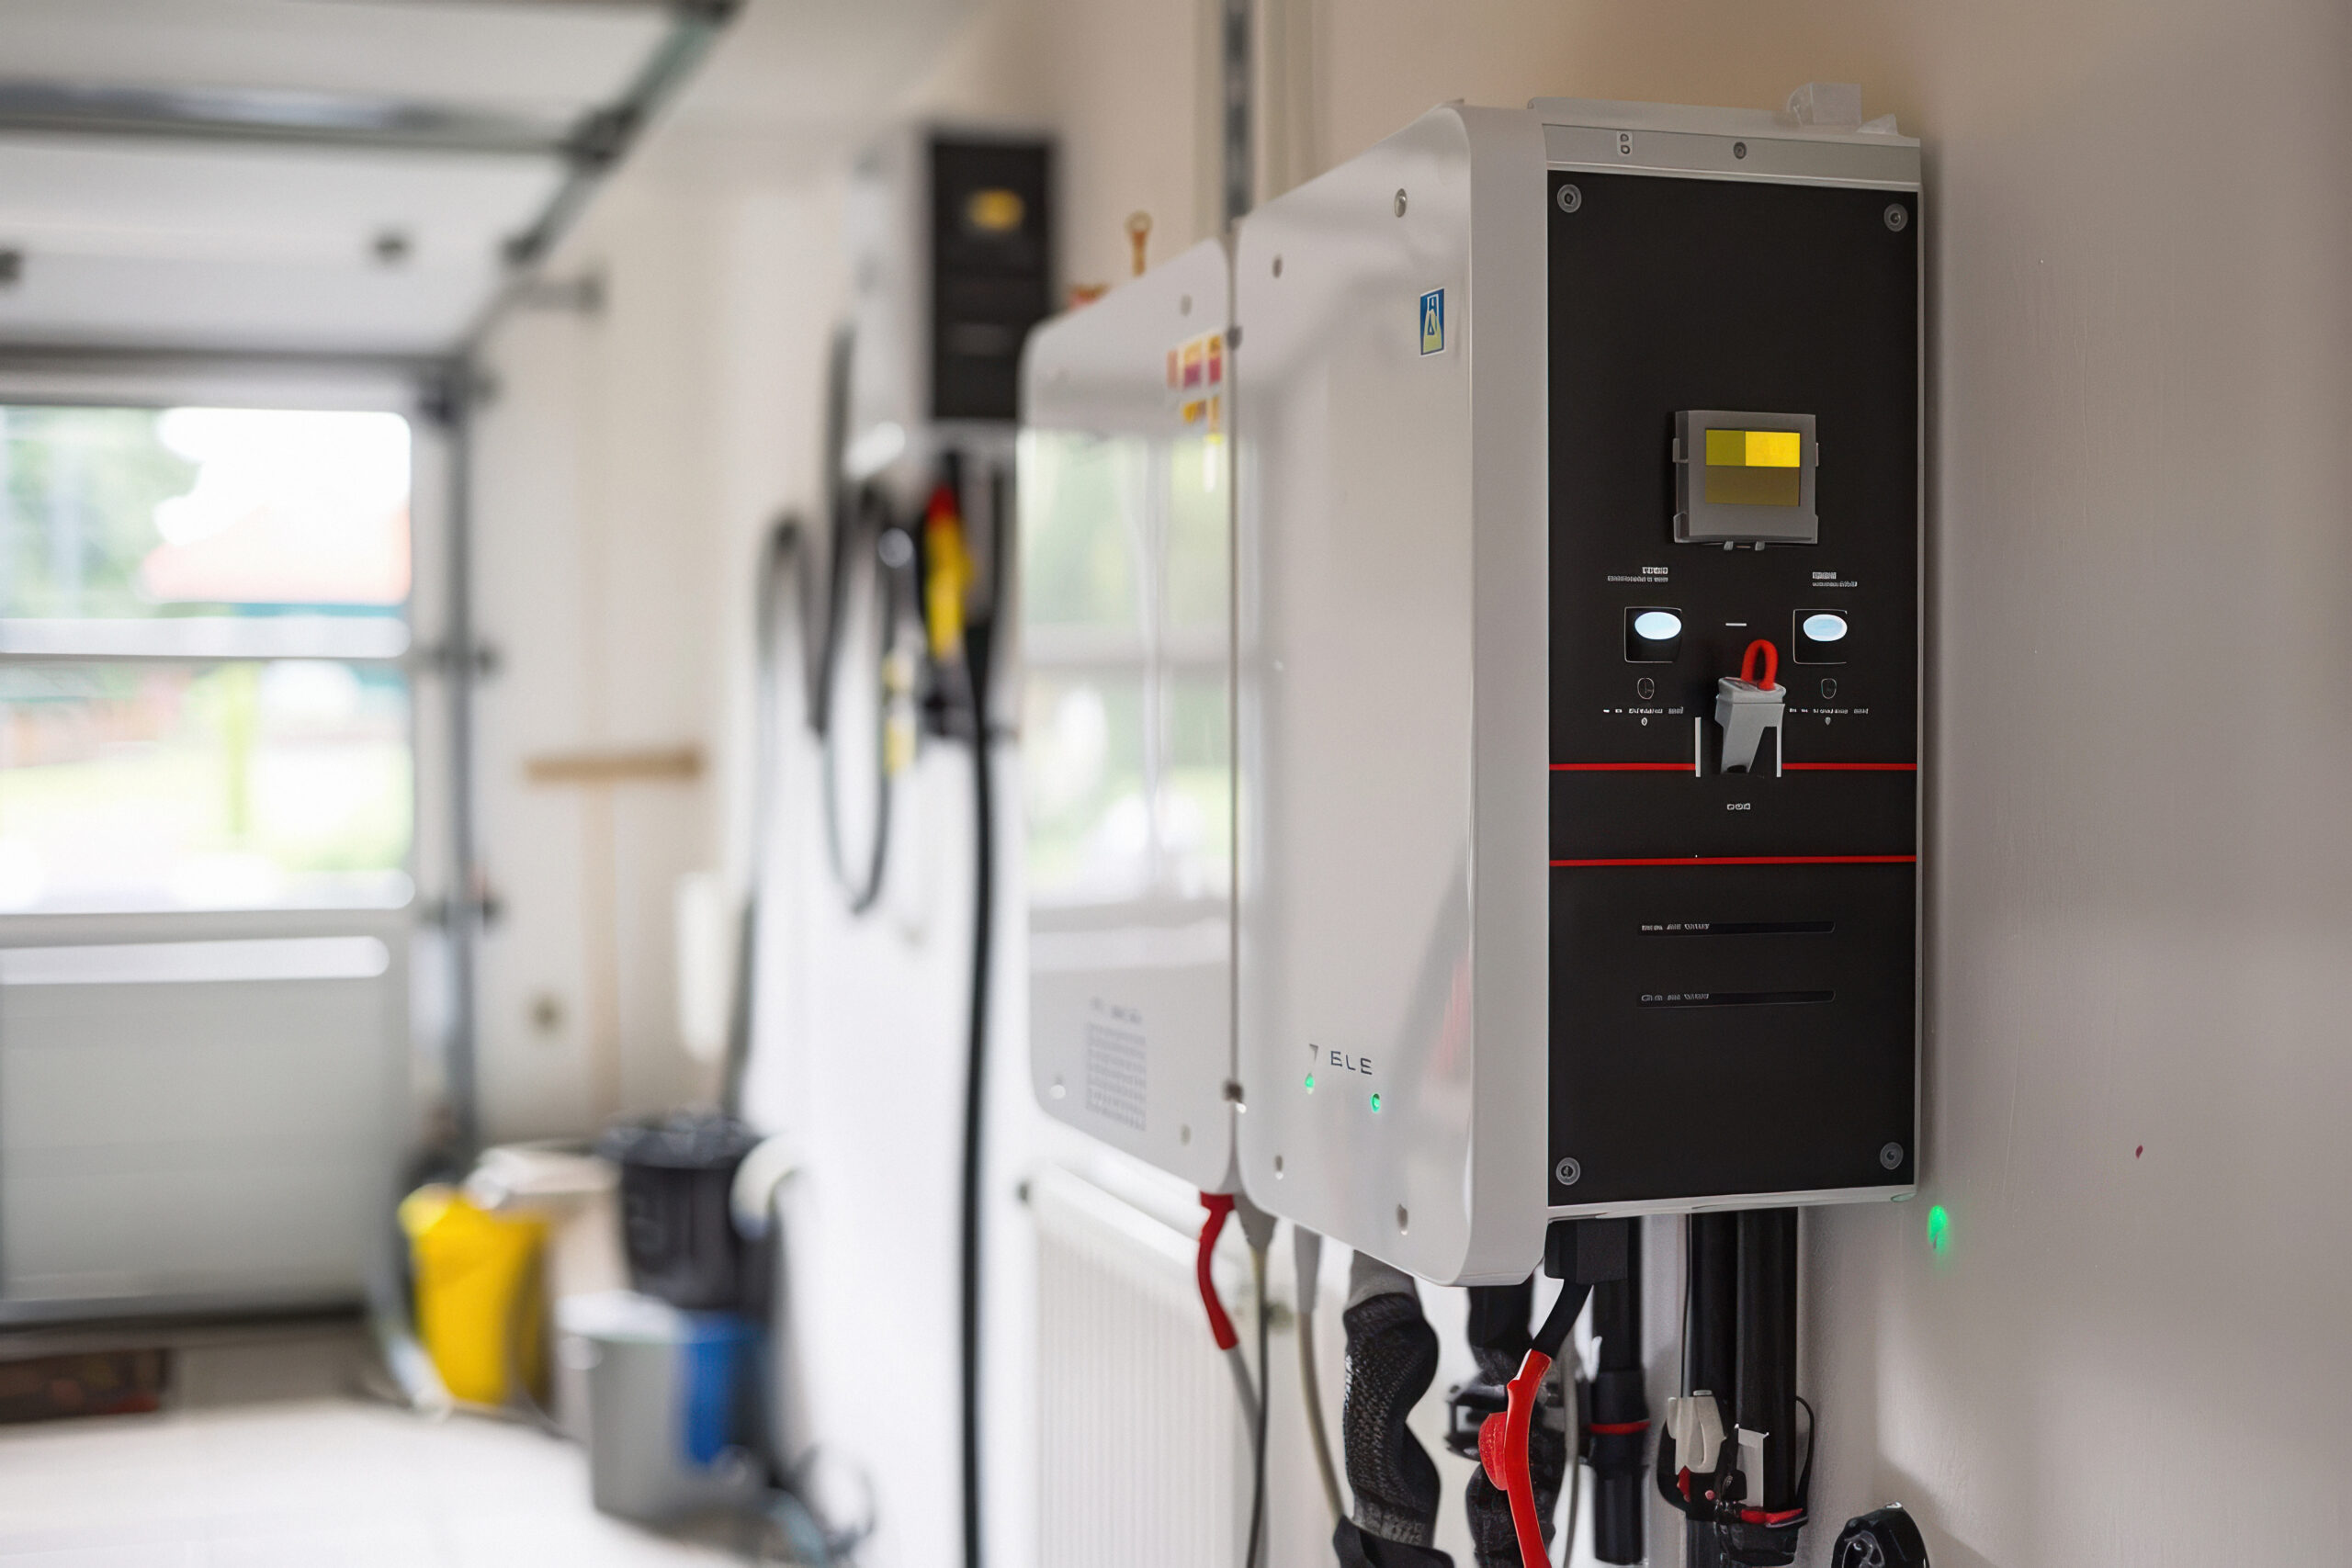
10. Inverter and Battery in the Wrong Place
Inverters and batteries are sensitive to temperature extremes. Installations in attics, unventilated garages, or direct sunlight drastically reduce equipment lifespan and void warranties.
What goes wrong: Attic temperatures can exceed 150°F in summer, well above the 104-110°F maximum operating temperature for most inverters. Thermal stress accelerates component aging, causing premature failures. And batteries can suffer even more. Lithium systems typically shut down above 120°F while capacity permanently degrades with chronic heat exposure.
Do this instead: Install inverters in climate-controlled spaces or shaded exterior locations with adequate ventilation. Follow manufacturer clearance requirements which can range typically 6-12 inches on all sides. For batteries, prioritize temperature stability: attached garages or conditioned basements work well. Avoid exterior walls that experience direct sun. If outdoor installation is necessary, specify NEMA 3R or better enclosures with ventilation.
Check warranty terms carefully. Many void coverage if equipment operates outside specified temperature ranges.
Read more: Understanding Solar Equipment Warranties: How NOT To Void Them
11. Skipping Monitoring and Commissioning
Commissioning verifies that your system operates as designed, while monitoring provides early warning of problems. Skipping these steps means underperforming systems can run for months or years before anyone notices.
What goes wrong: String voltages aren’t verified, CT clamps are installed backwards, firmware remains outdated, or production monitoring is never configured. The system appears to work but produces 20-30% below expectations. Without data, you can’t identify whether the problem is shading, equipment failure, or utility issues.
Do this instead: On commissioning day, verify string voltages match design calculations. Test ground-fault protection functionality. Confirm CT orientation for correct production metering. Update inverter firmware to current versions. Configure monitoring dashboards with production alerts where most modern inverters offer web or app-based interfaces. Set threshold alerts to notify you if production drops below expected ranges.
12. Not Planning for Utility Interconnection
The most perfectly installed system generates zero value if it can’t connect to the grid. Permission To Operate (PTO) involves coordination with your utility, meter swaps, and often navigating complex rate structures.
What goes wrong: DIY installers frequently underestimate PTO timelines, since 3-6 months isn’t unusual in some utility territories. Missing documentation or incorrect applications cause rejections and delays. Worse, signing up for the wrong rate schedule can slash the value of your solar production by 50% or more.
Do this instead: Start the utility interconnection application early, often simultaneously with permit applications. Understand your utility’s requirements for anti-islanding protection, voltage regulation, and export limits. Research rate structures carefully since time-of-use rates may dramatically improve solar economics if your production aligns with peak pricing. For Oregon residents, understanding net metering in Southern Oregon helps you maximize credit values.
Similar programs exist nationwide—check your state.
Budget for potential service upgrades. Some utilities require panel upgrades or transformer changes, which are costs that may or may not be your responsibility depending on local rules.
13. Neglecting Maintenance
“Set and forget” is the biggest lie in solar marketing. While maintenance requirements are minimal compared to other home systems, neglecting them costs you production and can lead to safety issues.
What goes wrong: Dust, pollen, and bird droppings accumulate on panels, reducing output by 5-20% depending on location. Electrical connections loosen over time due to thermal cycling. Module-level issues may not trigger system-level alarms. Trees grow, creating new shade problems. Pests build nests behind arrays.
Do this instead: Establish an annual solar PV inspection schedule. Clean panels 1-4 times yearly depending on local conditions (more in dusty climates, near agriculture, or in areas with heavy pollen). During inspections, check for loose connections, verify torque specs remain correct, inspect for corrosion, and conduct infrared scans to identify underperforming panels. Trim tree growth proactively. Check for and remove pest nests.
Document findings and track system performance over time to identify degradation trends.
14. Overlooking Fire and Emergency Access Setbacks
Fire codes mandate clear pathways across rooftops for emergency responder access. Violations create liability and may require expensive array relocation.
What goes wrong: Arrays installed without proper setbacks from roof edges, ridges, and hips violate fire codes. Missing or inadequate rapid shutdown systems prevent first responders from safely de-energizing rooftop circuits. Insufficient labeling leaves firefighters unaware of electrical hazards.
Do this instead: Follow your AHJ’s specific requirements, typical rules mandate 3-foot pathways from roof edges and 4-foot pathways to ridges. Implement NEC Article 690.12 rapid shutdown that de-energizes conductors within 30 seconds of activation. Label all disconnects, combiner boxes, and service points per NEC requirements. Provide clear identification of the solar system’s existence and electrical characteristics at the main service panel1.
Some jurisdictions require reflective roof pathway markers. Check local amendments to understand your specific obligations.
15. No Plan for Storage or Future Expansion
Today’s solar system should accommodate tomorrow’s needs. Installing without consideration for solar battery backup or system expansion creates expensive rework when circumstances change.
What goes wrong: Main panel capacity is fully utilized with no room for battery connections. No conduit stubs run to logical battery locations. Critical loads aren’t separated on a subpanel. PV array wiring doesn’t support additional strings.
Do this instead: Even if battery storage isn’t in your initial budget, plan for it. Run oversized conduit from your main panel to a logical battery location. If backup power matters, install a critical loads subpanel during initial construction. Size your inverter with future expansion as many string inverters accept additional input strings. Consider whether future electric vehicle charging or heat pump additions might warrant system expansion.
The cost of future-proofing is minimal during initial installation but substantial when retrofitting. Understanding the benefits of off-grid solar helps you plan appropriate resilience levels.

16. Treating Warranties Like Fine Print
Solar warranties are complex, covering different aspects with different terms. Misunderstanding what’s actually protected leads to unpleasant surprises when problems arise.
What goes wrong: Homeowners assume 25-year panel warranties cover everything. In reality, most panel warranties only guarantee 80-85% production at 25 years (performance warranty) but much shorter periods for defects (product warranty)3. Inverter warranties are typically 10-12 years. Workmanship warranties from solar installers in Medford and around Southern Oregon can have 1-5 years. Self-installed systems often void manufacturer warranties entirely.
Do this instead: Document three separate warranty categories:
- Product warranties covering manufacturing defects
- Performance warranties guaranteeing minimum output over time
- Workmanship warranties covering installation quality.
Read exclusions carefully as some warranties require professional solar installation, specific maintenance, or won’t cover damage from “extreme” weather that’s actually normal for your area.
Verify warranty backing as some manufacturers have stronger financial positions than others. Consider extended warranties or service agreements for premium equipment. Photograph serial numbers and maintain installation records in case claims arise years later3.
17. Ignoring Demand Charges and Load Profiles in Commercial Solar Projects
For commercial installations, focusing solely on total kWh generation while ignoring when power is produced versus consumed represents a fundamental analysis failure that undermines project economics.
What goes wrong: Commercial rate structures often include demand charges, which are fees based on your peak 15-minute power draw each month. These can represent 30-70% of your total electric bill. Solar production that doesn’t align with your demand peaks delivers minimal value. Standard residential sizing approaches applied to commercial projects yield disappointing ROI.
Do this instead: Obtain 12 months of interval data (15-minute resolution) from your utility. Analyze demand peaks against solar production curves. Consider whether battery storage for demand shaving improves economics more than additional panels. Model production using location-specific weather files (ASHRAE or TMY3 data) rather than average assumptions. Understand your rate structure completely as some commercial tariffs penalize or limit solar exports.
For commercial stakeholders, sharing project economics with your CFO using comprehensive load modeling significantly improves buy-in.
Learn more about commercial solar economic analysis.
DIY vs. Pro: When to Call Summit Solar And Battery
Summit Solar And Battery has helped hundreds of Rogue Valley residents avoid these mistakes through comprehensive site assessments, proper permitting, code-compliant installations, and ongoing maintenance support. We catch problems in the planning phase, where they’re easy and inexpensive to fix rather than after arrays are mounted and systems are energized.
Ready to start your solar journey right? Contact Summit Solar And Battery today for your free shade and roof assessment. Our valley experts handle everything from site analysis to permit coordination to code-perfect installations.
Frequently Asked Questions
How long does permitting typically take?
Permitting timelines vary dramatically by jurisdiction. Major metropolitan areas may require 4-8 weeks for plan review, while rural counties might process applications in 1-2 weeks. Plan review corrections add time. Start early and maintain regular communication with your building department.
Will I need a main panel upgrade?
Possibly. The NEC’s 120% rule (Article 705.12) limits total power sources (utility + solar) to 120% of your panel’s busbar rating. If your existing panel is near capacity, you may need to upgrade to a larger panel or implement a line-side tap connection. A qualified electrician can evaluate your specific situation.
Will solar panels void my roof warranty?
Roof warranties typically cover manufacturing defects, not penetrations from later work. Proper installation with correct flashing shouldn’t cause leaks, but poor installation can. Some roofing manufacturers offer solar-specific warranties or certifications for installers. Review your roof warranty and notify your roofing company before proceeding.
How do rain and snow affect output?
Rain naturally cleans panels, often improving output afterward. Snow blocks production entirely until it melts or slides off and tilt angle affects this significantly. In consistently rainy climates, choosing solar panels designed for rainy climates with improved low-light performance helps maintain production. Annual production calculations account for seasonal weather variations, so properly designed systems meet their projections even in challenging climates.
References
- Greenlancer. (2024). 2023 NEC solar code guide: Article 690 updates for installers. https://www.greenlancer.com/post/2023-nec-solar
- Khokhar, A. (2022, November 28). Guidelines for designing grounding systems for solar PV installations in accordance with the NEC. HeatSpring Magazine. https://blog.heatspring.com/guidelines-for-designing-grounding-systems-for-solar-pv-installations-in-accordance-with-the-nec/
- National Fire Protection Association. (n.d.). Article 690: Solar photovoltaic systems. National Electrical Code. https://www.nfpa.org/
- SolSmart. (2023, February 6). Step 2: Review PV system electrical code installation requirements. https://solsmart.org/solar-permitting/step-2